
Seeing a brown water stain on your ceiling or water running down a wall is not cosmetic. It signals moisture intrusion. If ignored, moisture can damage drywall, insulation, framing, and can contribute to mold growth. The first step is identifying the source. One possible cause is the dryer vent system.
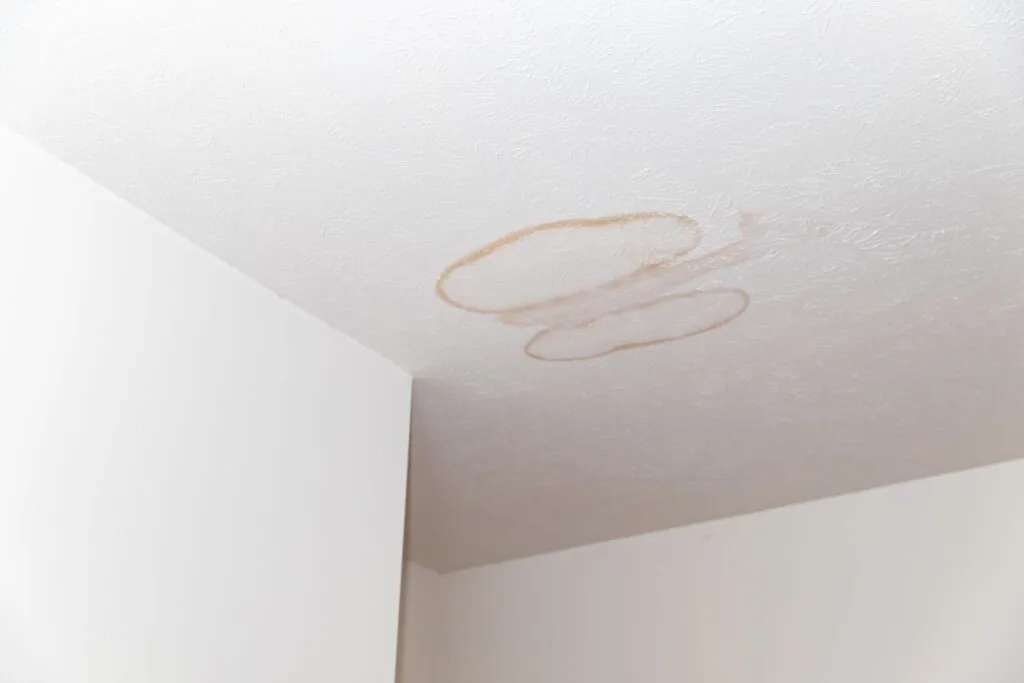
Could It Be the Dryer Vent?
Before assuming roof failure, plumbing leaks, or window flashing issues, verify whether the dryer vent runs through the affected area.
Step 1: Identify the Direction of the Vent
- Pull the dryer forward carefully.
- Detach the transition duct, the flexible tube connecting the dryer to the wall.
- Look at the fixed duct in the wall.
- If you see an elbow, note the direction: up, down, left, or right.
- If it runs straight back, that suggests a short, direct route.
This tells you where the duct is heading inside the wall or ceiling cavity.
Step 2: Locate the Exterior Termination
Go outside and find where the dryer exhaust exits.
There are typically two main locations:
Wall Vent (Side of House)
- A hood that protrudes a few inches from the siding
- 4 inch round duct behind it
- Hinged flap that opens when the dryer runs
- Often has a small rain shield or bird guard
Roof Vent
- A small metal hood or short pipe coming through shingles
- Flashing at the base
- A cap with a flap that lifts when air flows
- Low profile versions sit closer to the roof surface
If the dryer is on the second floor or interior of the home, roof termination is common.
Step 3: Compare the Stain Location
Now check where the ceiling or wall stain is.
If the stain sits roughly between the dryer and the exterior vent termination, especially along the logical duct path, the probability increases that the vent is involved.
This is not proof. It is directional evidence. The only definitive method is opening the drywall and inspecting the duct directly.
According to the International Association of Certified Home Inspectors, improper dryer vent installation and lack of insulation in unconditioned spaces are common moisture related issues in attics and wall cavities.
Why Dryer Vents Cause Leaks
Dryer exhaust air is hot and moisture laden. Every load releases water vapor into the vent system.
When that warm air travels through ductwork located in:
- Attics
- Exterior walls
- Unconditioned crawl spaces
and the duct is not insulated, the following happens:
- Warm, moist air contacts cold metal duct walls.
- The air temperature drops.
- Moisture condenses on the interior surface of the duct.
- Water collects and runs downhill.
This is basic condensation physics. When air cools below its dew point, water vapor turns into liquid. The U.S. Department of Energy explains that condensation forms when warm air contacts cooler surfaces in building cavities.
In winter, this effect increases because attic and wall temperatures are significantly lower.
The collected water can:
- Leak at duct joints
- Drip onto insulation
- Stain ceilings
- Run back toward the dryer
If the roof termination flashing is improperly installed, water intrusion from rain can also enter at that point, compounding the issue.
How to Fix It
1. Confirm the Source
If suspicion is high, cut a controlled inspection opening in the drywall near the stain. Look for:
- Rusting duct
- Water droplets on metal
- Wet insulation
- Loose or disconnected joints
Do not guess. Verify.
2. Insulate the Duct
If the duct runs through an unconditioned attic or exterior wall and is uninsulated, wrap it with insulation rated for ductwork.
Use:
- Foil faced fiberglass duct wrap
- Proper vapor barrier facing outward
- Foil HVAC tape to seal seams
Insulation slows heat loss from the duct, keeping interior air warmer and reducing condensation formation.
3. Seal All Joints
Every duct joint should be:
- Mechanically fastened with screws
- Sealed with foil HVAC tape
Do not use cloth duct tape. It fails under heat and time.
4. Ensure Proper Slope
Horizontal runs should have a slight downward pitch toward the exterior termination. This encourages any minor condensation to exit outside rather than pool inside.
5. Check the Exterior Hood
Inspect the exterior vent hood:
- Flap should open freely
- Flashing should be tight against shingles
- No visible gaps
- Caulk intact around penetration
Roof flashing errors can mimic condensation problems. If flashing is compromised, resealing or reinstalling may be required.
The National Fire Protection Association also notes that proper dryer vent installation reduces both fire risk and moisture issues.
Prevention
To reduce recurrence:
- Insulate ducts in all unconditioned spaces
- Keep total run length as short as possible
- Clean lint annually
- Avoid plastic or vinyl ducting
- Avoid unnecessary elbows
Rigid metal duct performs better than flexible corrugated pipe because it reduces lint buildup and airflow restriction.
Bottom Line
A ceiling stain does not automatically mean roof failure. Dryer vent condensation is a common and overlooked cause, especially in winter and in homes with attic vent runs.
The only definitive diagnosis comes from direct inspection. However, mapping the vent direction and comparing it to the stain location gives strong preliminary insight.
If confirmed, insulation and proper sealing typically resolve the issue permanently.